Wednesday, January 30, 2013

Caramel Covered Pretzel Sticks


Our grandmother has turned into a teenager.  She has become someone with a million different nicknames and frankly we can't keep up.  In December her nickname on our presents was "Granny J."  Where this came from, don't ask us.  Then there's our nickname for her when we're texting- "Gma" and lastly the good old "Grandma" because we're classy like that. She is not only responsible for many good times, but is also responsible for these Caramel Covered Pretzel Sticks.  We know what you're thinking: Caramel AND drizzled chocolate? That must be super rich! But the pretzel provides a perfect salty balance to that delicious sweetness.  Perfect for the Super Bowl or other parties, these Caramel Covered Pretzel Sticks will become your favorite go-to snack.

This recipe requires pretzel sticks, one 16 oz package of caramel, walnuts, condensed milk, and chocolate--we used bother vanilla and semi sweet.

 Start by melting one package of caramels in a sauce pan on medium heat.  Add 2 tablespoons of cream.  We had condensed milk on hand and used that.  It's only a small amount so use what you have on hand.

Continue stirring until the caramel is completely melted.  Be sure not to over heat.

Meanwhile chop a cup of nuts. The more pretzel sticks you cover, the more walnuts needed.


Once the caramel is melted start covering the pretzels.

Aubree's Note: Use a spoon to cover the pretzel with caramel.  Tip it down so the extra caramel goes back into the sauce pan and so the layer of caramel isn't too thick.


Cover the pretzels with the walnuts. Having multiple hands help with this process.

Ashley's Tip: Roll the caramel covered pretzels in nuts on a plate and then place on a greased cookie seat.  


Melt both chocolates and prepare them to cover the caramel covered pretzel sticks.  Only a cup of chocolate melted is needed.
Create any design you want. The zig zag was the easiest. 


These Caramel Covered Pretzel Sticks were made in a snap and destroyed even quicker.  Best thing is our Gma discovered something great in time for the Super Bowl.


Recipe

1 Package Pretzel Sticks
1 16 oz Package Caramels
2 Tablespoons Condensed Milk
1 Cup Chopped Walnuts
1 Cup Melted Chocolate

Melt the caramel in a sauce pan on medium heat.  Add in the condensed milk.
Cover the pretzels with caramel and immediately add nuts. Let dry on greased cookie seat.
Use melted chocolate to drizzle over pretzels.
Enjoy!

Wednesday, January 9, 2013

Potato Skins


There comes a time in every wannabe chef''s life, when your small concoctions here and there make you realize you can do anything.  You can make that pesto instead of buying it, you can make your brownies from scratch and add nuts and peanut butter chips to your heart's content.  And this year, we realized we could do more than just buy potato skins as we celebrate New Year's Eve.  We wanted to make this awesome appetizer from scratch.   Unlike the boxed version which makes only 8 potato skins that are small and often not even that crispy, these home made potato skins really bring this bacon and cheesy treat to a whole new level.  Best part of course is that these do not cost $4.99 for a box of 8 halves.  We estimate the cost to be about $2.00 for 8 halves.

Start by preparing the baked potatoes. Microwaving them is an option however we recommend throwing them in the oven, the potato is easier to work with.

Make sure to coat the potatoes in olive oil and wrapped in tin foil. Bake the potatoes for 60 minutes at 400F.

While the potatoes are in the oven becoming delicious, grate some cheddar cheese.

We used bacon bits for these appetizers but if you want to use the real thing cook the bacon and let it cool during the hour cook time. Then cut them into small pieces.

Once the potatoes are cool to the touch cut them horizontally, in half, and then scoop out the inside.

Ashley's Tip: use a melon scooper to carve out the middle.  However try to leave 1/4 inch of potato around every edge.


Coat both sides of the potatoes in canola or vegetable oil; try to avoid olive oil as we want the edges to get crispy and smoke.

Aubree's Note: We didn't have a brush to coat the potatoes so we became resourceful and used a spatula.  It worked really well, you never know what tool can be used for multiple purposes. 


Sprinkle on some salt and place the potatoes on a baking sheet.  Try to use a heavy duty sheet in order to avoid warping.

Bake the potatoes for 10 minutes at 450F.

Flip over the potatoes and cook for another 10 minutes.


Once the potatoes are done cooking, flip the potato skins right side up and place cheese and the bacon bits into opening.


Sprinkle with pepper and return to the 450 oven for 2 minutes or until the cheese is melted.

These potato skins are best eaten with ranch dressing.  Please consume immediately and enjoy these delicious appetizers.


Recipe

Medium to Large Potatoes
Olive Oil
Canola Oil
Salt
1/2 cup Cheddar Cheese
Bacon Bits
Pepper

Bake the potatoes by rubbing in olive oil and wrapping in aluminum foil.  Bake for 60 minutes at 400F.
Once cooled, cut potatoes in half and scoop out the middle of the potato.
Coat in canola oil and salt.  Bake on a cookie sheet for 10 minutes at 450F.  Flip potatoes and bake for another 10 minutes.
Once cool enough to touch put cheese and bacon bits into middle of potatoes.  Sprinkle with pepper.  Bake for another 2 minutes.
Add a scoop of ranch dressing and enjoy!


Monday, December 31, 2012

The Best of 2 Broke Bakers: Our 10 Most Favorite Posts

It was the best of times, it was the worst of times.  Well this blog has had some lack luster posts.  But then, we hit the jack pot.  That is as this blog has progressed we have decided to become blog post geniuses.  From witty one liners, to a plethora of eye catching images, to an insurmountable number of movie references we have found our stride.  Here's our 10 favorite posts-- we came, we made, we posted.

1.  Jeanie's Banana Bread


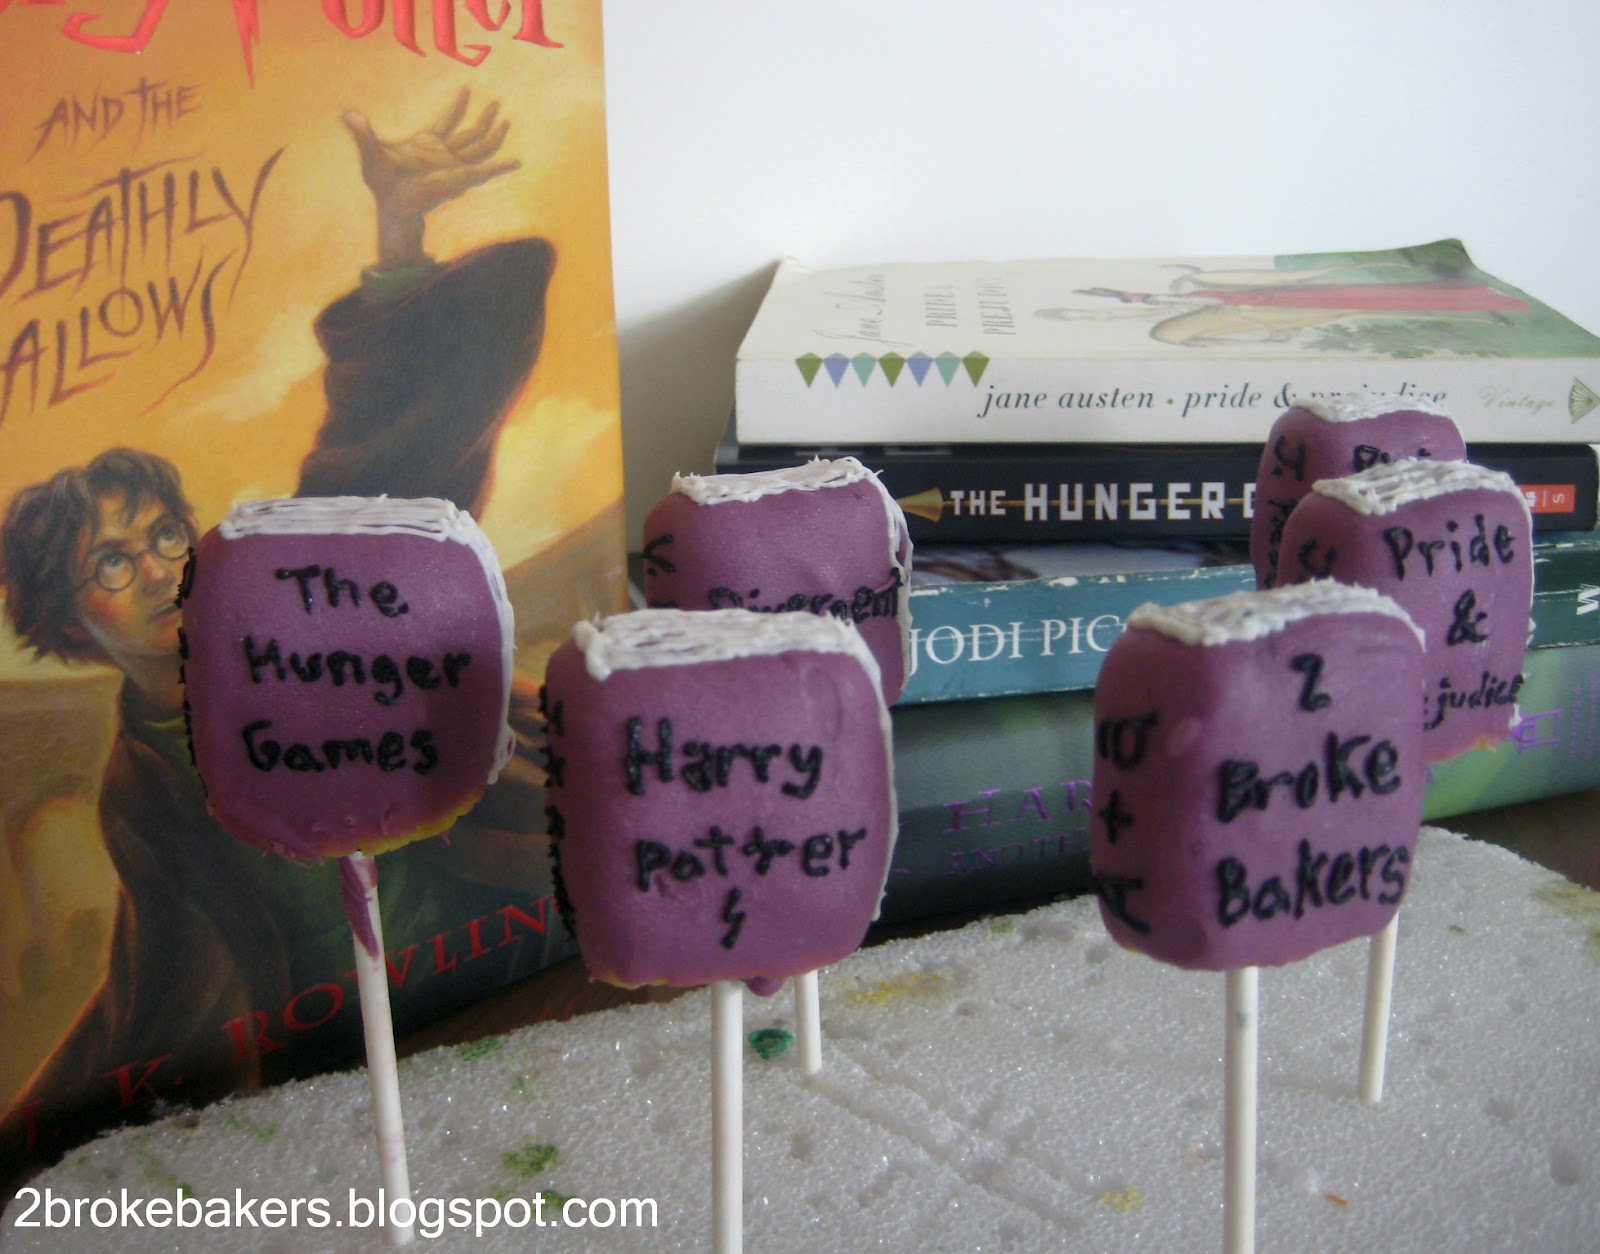
2. Our Favorite Books Cake Pops


3. Tri-Color Pasta Salad


4. Aebleskivers


5. Cake Pops 101


6. Fresh Raspberry Homemade Ice Cream


7. Mediterranean Grilled Cheese Sandwich


8. Strawberry Banana Angel Food Cake


9. Pumpkin Cupcakes


10. Cake Pop Greatest Hits


Friday, December 28, 2012

The Best of 2 Broke Bakers: The 10 Most Popular Recipes

As 2012 comes to an end we wanted to do a roundup and look at all the favorites posts throughout the year.  Since we've only been around for less than a year it's been quite the journey.

10. Cake Pop Greatest Hits


9. Mint Chocolate Chip Cookies


8. One Eyed Monster Cake Pops


7. Dark Chocolate Banana French Toast


6. Not Quite 7 Layer Dip


5. Cake Pops 101


4. Strawberry Banana Angel Food Cake


3. Peacock Cake Pops


2. Hippo Cake Pops on the Prowl


and the most popular post on 2 Broke Bakers in 2012 was.....

1. Elephant Cake Pops


It's been a great year for us and we look forward to more in 2013. Up next is our personal favorite posts of 2012.


Thursday, December 27, 2012

Gingerbread House


Tis the season!!...
 for amateur architects like ourselves to make wonderful structures of  candy and icing.  Normally we go full amateur using graham crackers and frosting, which don't get us wrong is still super fun.  But this year we opted out for a kit.  Yes we may not have baked anything for this post, but making cute designs with candy is something we like to do.  And oh, we did like making this epic gingerbread house for the holiday season.  Its great practice decorating with candy and a great activity for the whole family!

This kit was purchased from Joann's and it is found everywhere.  Usually these things fall down after a short time  (at least ours did).  We found the trick: after you put together the three walls let it sit for 30 minutes.  Then put on the roof and decorate.

           Aubree's Note: The icing in the kit hardens after a         period of time  which helped.  If you make it by scratch, the      frosting may remain lose so keep that in mind as you pile on                                the candy decore!


The rest is all fun.  Everything in the pictures are from the kit.  We stuck to the box.  To make the snowman eat some of the peppermint candy; the road is made of crushed peppermint.


We're quite proud of our little house.  We're still baking so our next post will be up soon!