Wednesday, March 28, 2012

Jeanie's Banana Bread


P O T A T O! No, our banana bread does not contain potatoes. However, like this adorable minion trailer, our bread punches you in the face with flavor.  And hopefully, you will have as much fun making it as we do watching this trailer on repeat. Over and over and over again.  Let the minion's banana obsession spread once you've tried this classic recipe.  And like the minions, we may or may not have stolen it... from our grandma. :)

Start with 2/3 cup softened butter and mix with 1.5 cups sugar in a large bowl.

Up next are the eggs--you'll need two.  Mix in one egg at a time.

The bananas... the more ripe the better.   Take a fork and mash two bananas or one cup worth.

Add 4 teaspoons sour cream or milk. We use sour cream due to making the dough thicker.

Preheat oven to 375F.
Combine the banana and sour cream mixture with the butter mixture.  Stir well.

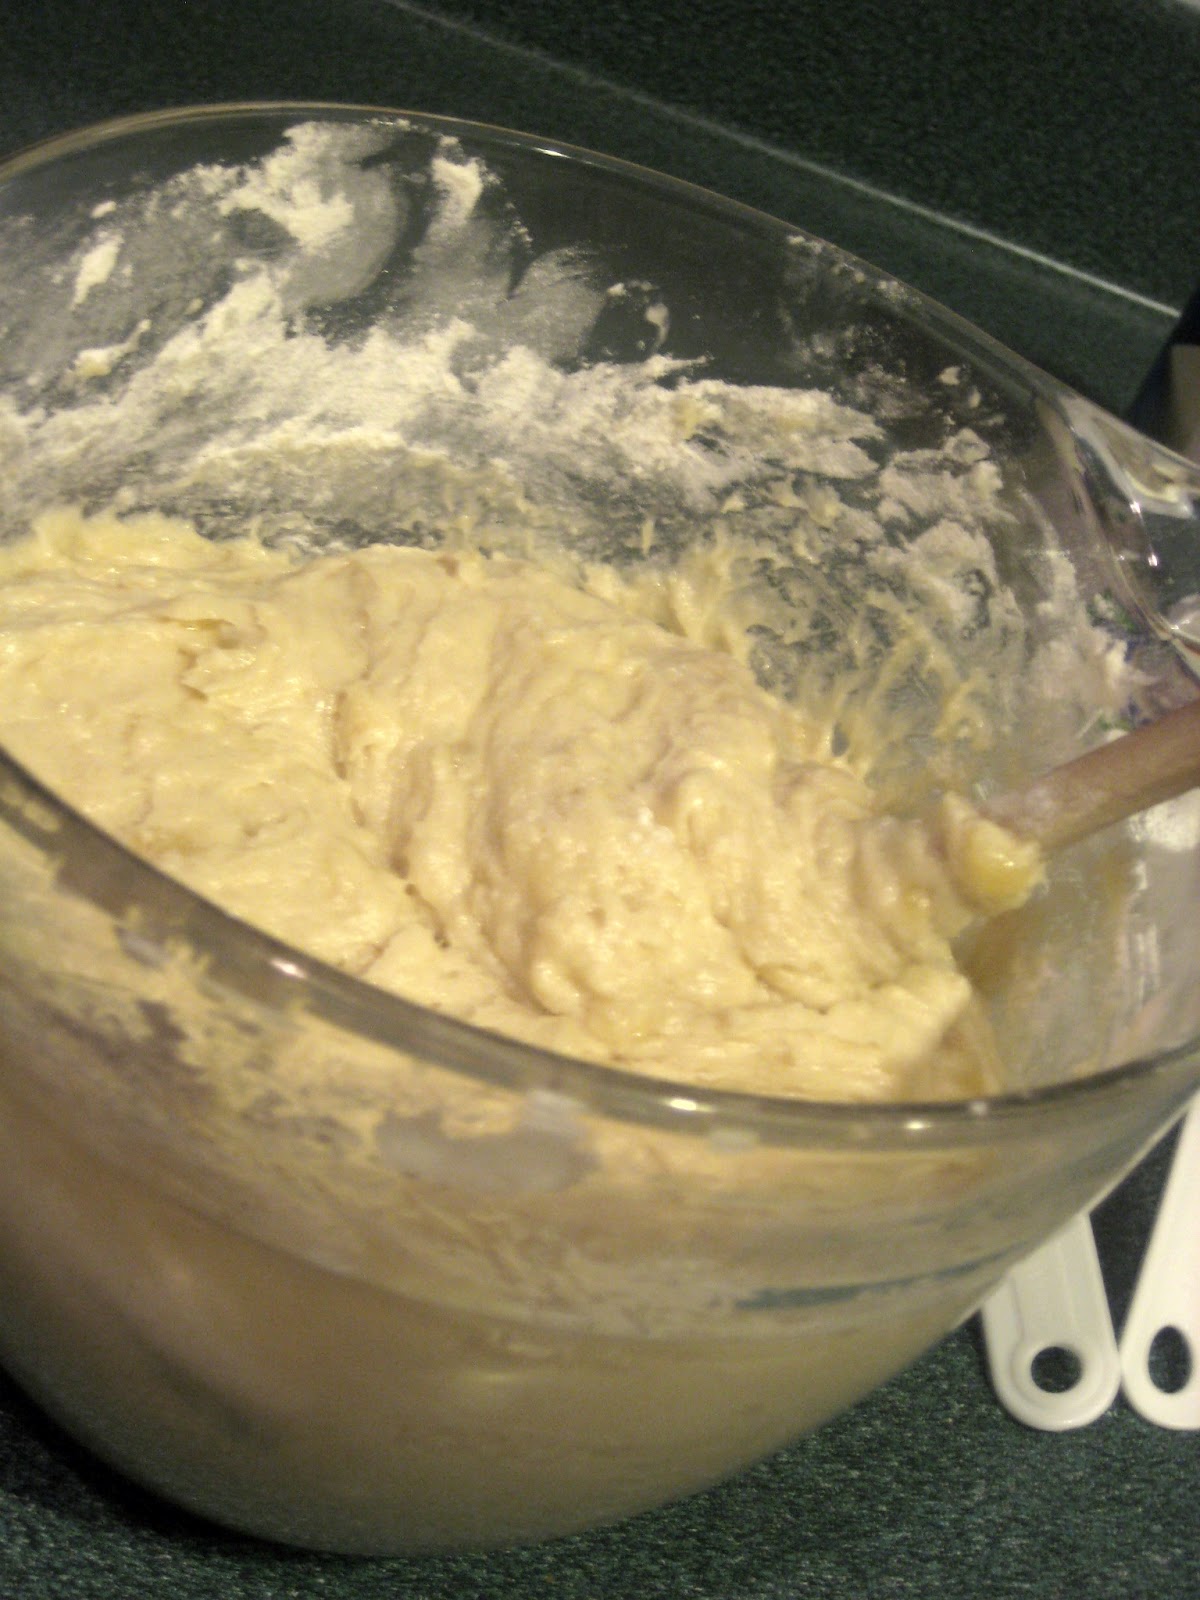
Add 2.5 cups flour, 1 tsp baking soda, a dash of salt and fold into the batter.  If you like nuts then add 1/2 cups of chopped walnuts in at this point (it's good either way, maybe throw in some chocolate chips).


The bread can be baked in either a 13 x 9" pan or as individual loaves.

For the pan(s) gently add butter to the pan.
Put a 1/4 cup of flour into the pan and move the pan around so that every space is covered in flour.  This serves as a way to keep the bread from sticking to the pan.
We made small individual loaves, so we divided the batter in half.

Bake at 375F for 45 to 50 minutes.  This might vary based on oven, our baked for near 40 minutes. The top will be brown, check by sticking a toothpick about an inch from the edge of the pan.
Once you're bread is fresh from the oven, let it cool and take a bite.  Then watch the trailer again.

P.S. Are you as obsessed with this trailer as we are?


Recipe

2/3 cup softened unsalted butter
1.5 cup sugar
2 eggs
1 cup mashed bananas (very ripe)
4 teaspoon sour cream or milk
2.5 cups flour
1 teaspoon baking soda
1 dash salt
1.2 cup chopped walnuts

Cream butter, add sugar and cream again.
Add eggs one at a time and mix completely.
Add mashed bananas with sour cream.
Fold in flour, baking soda and salt.
Add in chopped walnuts
Bake at 375F for 45 - 50 minutes.


Sunday, March 25, 2012

Dark Chocolate Banana French Toast


Breakfast foods--sometimes they're absolutely the most amazing thing. Butter, cinnamon, vanilla, chocolate, bananas, syrup and most importantly bread. French toast is the combo of everything that's delicious.  Plus it's super easy to make and super cheap. 1 serving makes about 6 slices of bread which leads to a cost per serving of under $2.

Start by beating 2 eggs and 1/2 cup milk in a bowl. Add 1/2 teaspoon vanilla and a pinch or two of cinnamon for taste.

Heat a saucepan with 1/4 tablespoon of butter.

Next is the bread: you can use a french bread loaf, a regular loaf or whatever type of bread you have.  We used sandwich bread because we didn't feel like going to the store.... instant gratification is what we're all about.

Dip the bread into the batter and then straight onto the saucepan.  Cook until each side is brown.  Think of it like a grilled cheese sandwich-but it's just one slice of bread.

Take off the heat, coat with banana slices, chocolate chips, powered sugar and sryup or whatever combo of that sounds good. It's delicious, and takes less than 5 minutes.


Recipe

2 eggs
1/2 cup milk
1/2 teaspoon vanilla extract
1/4 teaspoon cinnamon

Beat eggs and milk in bowl.  Add vanilla and cinnamon.
Heat butter in saucepan.
Dip bread into batter and cook until sides are golden brown.
Top with syrup, powered sugar, a couple of dark chocolate chips and some bananas.

Thursday, March 22, 2012

Hippo Cake Pops on the Prowl


The Hippopotamus.  You'll either know them from cute stuffed Beanie Babies or playing Hungry Hungry Hippo!  (If you just sang that game's name, then we approve.)  Around here though, they serve another purpose: a nickname.  Aubree's friend Nina drives a gray Volkswagon, and the name "The Hippo" fits strangely well.  Therefore when Nina turned 18 a couple weeks ago, we had to attempt to recreate this creature in cake pop form.

If you have never made a cake pop before, head over to our Cake Pops 101 Guide and check out the step by step tutorial in order to make a basic cake pop.


By Nina's request, we started with carrot cake and cream cheese frosting which turned into a delicious cake pop.

From there we tinted white melting chocolate using Wilton candy coloring.  A few drops a time works--we used a combination of blue, orange, red and yellow. Good luck and be patient! Gray takes a while to make it good.


After the cake balls froze for 5 minutes we pulled them out and shaped them into the head size.  We did not shape the ears, just the basic outline for the head. Make sure to keep the main weight in the middle of the head--being off balanced leads to cake pops falling off the sticks!


Once shaped, we placed them back into the freezer for another 10-15 minutes.

Then take them out and dip carefully.  Its kind of a weird shape but the extra cake in the back should help keep it on the stick.

After we added black eyes with frosting and a little dot of extra chocolate for the noses and ears.

And Viola! Hippos on the Prowl!!


Tuesday, March 20, 2012

Chocolate Butterscotch Bars


Sometimes all you need for your birthday is a nice monstrous dessert cookbook.  Luckily, Aubree's friends agreed this year, and graced our house with The Ultimate Cookie Book.  Talk about a gift that keeps on giving.  480 pages of recipes like this one- Candy Bar Cookie Bars.  Not only is it super rich with butterscotch and peanut butter, but its also simple and quick.  Most of the cooking time is just melting ingredients for that rich, fudgy top of greatness.

Step 1 is to make the crust.  Start with a sauce pan on medium heat and stir 1 cup packed brown sugar, 2/3 cup butter and 1/4 cup dark or light corn syrup (in order to make the oats stick together). Keep on heat until smooth.

Remove from heat and stir in 1/4 cup peanut butter and 1 teaspoon vanilla.

Preheat oven to 375F
For the crust put 3 1/2 cups instant oats (like Quaker Oats) into a large bowl.  Pour the brown sugar mixture over the top of the oats and stir gently.

Press the oats into a ungreased 13x9 pan.  Bake for 10 minutes or until edges are a light brown.

Cool on a wire rack.
In the same saucepan heat a 12 once package of semi-sweet chocolate chips and 1 cup butterscotch chips (less an 11 oz). Heat over low stirring continuously in order to not burn the chocolate.
Stir until smooth.  Once the chocolate mixture is completely melted, add in 2/3 cup peanut butter and mix until smooth again.
There's the options of pouring chopped peanuts onto the crust before the chocolate. If you live in a "we don't like nuts" household then skip this step (we did).

Slowly pour the chocolate mixture over the peanuts and crust. Spread evenly. Sprinkle remaining peanuts on top.

Let cool in the pan, on a wire rack until firm.  We let it cool, then to make it completely firm stuck it in the refrigerator for 10 minutes.

To cut either use a plastic knife and saw in order to make smooth edges. Or use a knife and heat in hot water then dry quickly to cut.

Are we the only ones who love chocolate and peanut butter?

Best thing about this is, it's so rich you can only have a small piece at a time... which means it lasts for days!

Recipe (Originally found in The Ultimate Cookie Book)

1 cup packed brown sugar
2/3 cup butter
1/4 cup dark- or light-color corn syrup
1/4 cup peanut butter
1 teaspoon vanilla extract
3 1/2 cups quick-cooking oats
2 cups semisweet chocolate chips
1 cup butterscotch chips
2/3 cup peanut butter
1 chopped peanuts

In a saucepan stir/melt brown sugar, butter, and corn syrup until smooth. Remove from heat and add 1/4 peanut butter and vanilla. Stir until smooth.
For crust, place oats in bowl.  Preheat oven to 375F.
Pour brown sugar over oats and stir gently.  Press oats into the bottom of an ungreased 13x9 pan.  Bake for 10 minutes. Cool on wire rack.
In the same saucepan heat and stir chocolate pieces and butterscotch pieces over low heat. Stir until smooth.
Sprinkle over half of peanuts over crust. Slowly pour chocolate mixture over peanuts. Spread evenly and sprinkle remaining peanuts over top.
Cool completely on wire rack.  Refrigerator after firm for 10 minutes.

Saturday, March 17, 2012

Mint Chocolate Chip Cookies


How often do you eat a green cookie? Probably not that often.  Well, the same goes for us.  So this St. Patty's Day, instead of making green Jell-O or using food coloring to dye frosting, we're making a green, minty, chocolaty cookie.  It's like mint chocolate chip ice cream, but in warm cookie form.

Start with 2 sticks of butter and soften them in a large bowl.  Add 1 1/2 cups of white sugar and cream together.

Add 1/2 teaspoon peppermint extract, 1 teaspoon vanilla extract, and 10 drops green food coloring.

Beat 1 egg into the batter. You might want to add another because the dough is fairly dry.

Now turn your oven to 375F. Start the preheat (this way you'll finish making the dough at the same time the oven has preheated).
Next your going to start on the dry ingredients.  Most recipes call for you to mix these first in another bowl.  However we here at 2 Broke Bakers hate dishes.  Therefore here is our secret.  Mix the dry ingredients on top then fold into the original mixture.

So add 2 3/4 cups flour, 1 teaspoon baking soda and 1/2 teaspoon baking powder onto the top and gently mix.  Once combined start folding the dry ingredients mixture into the original mix.

Last step is to add in the package (1 cup) of dark chocolate chips.  You can add 1/2 cup chocolate chips and 1/2 cup creme de menthe baking chips.

We think the dark chocolate adds enough, but if you want lots of mint flavor the creme de menthe baking chips will add.

Place dough in round balls onto an ungreased baking sheet. Bake for 9 minutes and then cool for 2 minutes.

Finally remove the cookies from the sheet and place on a wire rack to cool completely.

P.S. 60 cookies for under $5 = 8 cents a cookie.
Enjoy Mint Dark Chocolate Chip Cookies!

Recipe (adapted from The Idea Room )

1 Cup Softened Butter
1 1/2 Cup White Sugar
1/2  Teaspoon Peppermint Extract
1 Teaspoon Vanilla Extract
10 Drops Green Food Coloring
1 Egg
2 3/4 Cup Flour
1 Teaspoon Baking Soda
1/2 Teaspoon Baking Powder
1 Cup Dark Chocolate Chips (11oz package)

Cream butter and sugar in a large bowl
Beat in peppermint extract, vanilla extract, 10 drop green food coloring and egg.
Preheat oven to 375F
Mix flour, baking soda and baking powder on top of green mixture.  Fold flour mix unto original mix.
Add in dark chocolate chips.
Place 1 inch balls onto ungreased baking sheet.
Bake for 9 minutes.  Let rest for 2 minutes on sheet. Finish cooling on wire racks.
Makes approx. 60 cookies.


Wednesday, March 14, 2012

Somewhere Over the Rainbow Cake Pop


While perusing the wonders of Pinterest the other day (and potentially procrastinating on homework) Ashley came across the inside-out rainbow cake pop originally found on Babble.  Inside-out doesn't mean there's chocolate on the inside and cake around it.  What it means is a surprise pop of color in your cake pop.  Normally we'd say go check out our Cake Pops 101, but this time because there's different colors here's the step-by-step.

Start with a white cake box and follow the instructions for mixing. Then separate the white batter into however many colors you want.  We made 4.  But go all out and try 5 if you want.  However, don't be too much of an overachiever for this one.  Something crazy like 8 colors would be a nightmare!

Mix and create new colors with food coloring.  We started with regular red, yellow, blue and green.


We made cupcakes. If you want to make a mini-cake go for it. The goal is to bake the colors separately so you can keep the colors distinct.

Once they have cooled, crumble the cupcakes by color into separate bowls.  Add the vanilla frosting--it was about 2 middle sized spoons. Our caution is to add a small bit at a time, too much frosting isn't good.


Once crumbled. Take a small section of each color and add together to form one cake ball. Any combo works... be creative.


It's time to freeze the cake balls and wait 15 minutes, or refrigerate for a few hours.


Pick any color for the outside and dip them in the melting chocolate.  We liked the idea of having a perfectly white and somewhat plain cake pop, to then be surprised on the inside.


We had leftover chocolate so we added a couple drops of red food coloring, oil based, to make pink for a swirl on the outside.

When you bite into these cake pops......... Rainbow!

Wednesday, March 7, 2012

Peacock Cake Pops

Peacock Cake Pops!

These were quite the endeavor.  We have done a fair share of cake pops: hippos, babies, turtles, hearts, owls, domos, lions, and minions.  However trying to create a peacock was a challenge in itself.  But we succeeded!


Start with the basic cake pop.  If you've never made one before check out our Cake Pops 101 Guide.  It gives the detailed how to.

We used a baby blue.  You can go with brown, green, or truly whatever color you feel like.  Step 1 is to dip the cake pop in melted chocolate.


Immediately add a little colored chocolate chip. Then let dry.
 Melt green chocolate and put in a ziplock bag, cut a tiny hole in one of the bottom corners.  Lay down a piece of wax paper.  Start with a large dab--you will use this to attach to the cake pop.      Then start making feather-like details.
Go back with a different color (we used blue, but it can be purple or brown).  Fill in the blank areas.  Make sure to fill the entire space or there will gaps in the back.

Once dried, flip over the piece of chocolate.  Add a dollop of melted chocolate.
  Place the cake pop on the chocolate and let sit.  You may need to hold the cake pop so the feathers are straight.


All that's left are the eyes.  We use black frosting.
Peacock Cake Pops!