Tuesday, March 20, 2012

Chocolate Butterscotch Bars


Sometimes all you need for your birthday is a nice monstrous dessert cookbook.  Luckily, Aubree's friends agreed this year, and graced our house with The Ultimate Cookie Book.  Talk about a gift that keeps on giving.  480 pages of recipes like this one- Candy Bar Cookie Bars.  Not only is it super rich with butterscotch and peanut butter, but its also simple and quick.  Most of the cooking time is just melting ingredients for that rich, fudgy top of greatness.

Step 1 is to make the crust.  Start with a sauce pan on medium heat and stir 1 cup packed brown sugar, 2/3 cup butter and 1/4 cup dark or light corn syrup (in order to make the oats stick together). Keep on heat until smooth.

Remove from heat and stir in 1/4 cup peanut butter and 1 teaspoon vanilla.

Preheat oven to 375F
For the crust put 3 1/2 cups instant oats (like Quaker Oats) into a large bowl.  Pour the brown sugar mixture over the top of the oats and stir gently.

Press the oats into a ungreased 13x9 pan.  Bake for 10 minutes or until edges are a light brown.

Cool on a wire rack.
In the same saucepan heat a 12 once package of semi-sweet chocolate chips and 1 cup butterscotch chips (less an 11 oz). Heat over low stirring continuously in order to not burn the chocolate.
Stir until smooth.  Once the chocolate mixture is completely melted, add in 2/3 cup peanut butter and mix until smooth again.
There's the options of pouring chopped peanuts onto the crust before the chocolate. If you live in a "we don't like nuts" household then skip this step (we did).

Slowly pour the chocolate mixture over the peanuts and crust. Spread evenly. Sprinkle remaining peanuts on top.

Let cool in the pan, on a wire rack until firm.  We let it cool, then to make it completely firm stuck it in the refrigerator for 10 minutes.

To cut either use a plastic knife and saw in order to make smooth edges. Or use a knife and heat in hot water then dry quickly to cut.

Are we the only ones who love chocolate and peanut butter?

Best thing about this is, it's so rich you can only have a small piece at a time... which means it lasts for days!

Recipe (Originally found in The Ultimate Cookie Book)

1 cup packed brown sugar
2/3 cup butter
1/4 cup dark- or light-color corn syrup
1/4 cup peanut butter
1 teaspoon vanilla extract
3 1/2 cups quick-cooking oats
2 cups semisweet chocolate chips
1 cup butterscotch chips
2/3 cup peanut butter
1 chopped peanuts

In a saucepan stir/melt brown sugar, butter, and corn syrup until smooth. Remove from heat and add 1/4 peanut butter and vanilla. Stir until smooth.
For crust, place oats in bowl.  Preheat oven to 375F.
Pour brown sugar over oats and stir gently.  Press oats into the bottom of an ungreased 13x9 pan.  Bake for 10 minutes. Cool on wire rack.
In the same saucepan heat and stir chocolate pieces and butterscotch pieces over low heat. Stir until smooth.
Sprinkle over half of peanuts over crust. Slowly pour chocolate mixture over peanuts. Spread evenly and sprinkle remaining peanuts over top.
Cool completely on wire rack.  Refrigerator after firm for 10 minutes.

Saturday, March 17, 2012

Mint Chocolate Chip Cookies


How often do you eat a green cookie? Probably not that often.  Well, the same goes for us.  So this St. Patty's Day, instead of making green Jell-O or using food coloring to dye frosting, we're making a green, minty, chocolaty cookie.  It's like mint chocolate chip ice cream, but in warm cookie form.

Start with 2 sticks of butter and soften them in a large bowl.  Add 1 1/2 cups of white sugar and cream together.

Add 1/2 teaspoon peppermint extract, 1 teaspoon vanilla extract, and 10 drops green food coloring.

Beat 1 egg into the batter. You might want to add another because the dough is fairly dry.

Now turn your oven to 375F. Start the preheat (this way you'll finish making the dough at the same time the oven has preheated).
Next your going to start on the dry ingredients.  Most recipes call for you to mix these first in another bowl.  However we here at 2 Broke Bakers hate dishes.  Therefore here is our secret.  Mix the dry ingredients on top then fold into the original mixture.

So add 2 3/4 cups flour, 1 teaspoon baking soda and 1/2 teaspoon baking powder onto the top and gently mix.  Once combined start folding the dry ingredients mixture into the original mix.

Last step is to add in the package (1 cup) of dark chocolate chips.  You can add 1/2 cup chocolate chips and 1/2 cup creme de menthe baking chips.

We think the dark chocolate adds enough, but if you want lots of mint flavor the creme de menthe baking chips will add.

Place dough in round balls onto an ungreased baking sheet. Bake for 9 minutes and then cool for 2 minutes.

Finally remove the cookies from the sheet and place on a wire rack to cool completely.

P.S. 60 cookies for under $5 = 8 cents a cookie.
Enjoy Mint Dark Chocolate Chip Cookies!

Recipe (adapted from The Idea Room )

1 Cup Softened Butter
1 1/2 Cup White Sugar
1/2  Teaspoon Peppermint Extract
1 Teaspoon Vanilla Extract
10 Drops Green Food Coloring
1 Egg
2 3/4 Cup Flour
1 Teaspoon Baking Soda
1/2 Teaspoon Baking Powder
1 Cup Dark Chocolate Chips (11oz package)

Cream butter and sugar in a large bowl
Beat in peppermint extract, vanilla extract, 10 drop green food coloring and egg.
Preheat oven to 375F
Mix flour, baking soda and baking powder on top of green mixture.  Fold flour mix unto original mix.
Add in dark chocolate chips.
Place 1 inch balls onto ungreased baking sheet.
Bake for 9 minutes.  Let rest for 2 minutes on sheet. Finish cooling on wire racks.
Makes approx. 60 cookies.


Wednesday, March 14, 2012

Somewhere Over the Rainbow Cake Pop


While perusing the wonders of Pinterest the other day (and potentially procrastinating on homework) Ashley came across the inside-out rainbow cake pop originally found on Babble.  Inside-out doesn't mean there's chocolate on the inside and cake around it.  What it means is a surprise pop of color in your cake pop.  Normally we'd say go check out our Cake Pops 101, but this time because there's different colors here's the step-by-step.

Start with a white cake box and follow the instructions for mixing. Then separate the white batter into however many colors you want.  We made 4.  But go all out and try 5 if you want.  However, don't be too much of an overachiever for this one.  Something crazy like 8 colors would be a nightmare!

Mix and create new colors with food coloring.  We started with regular red, yellow, blue and green.


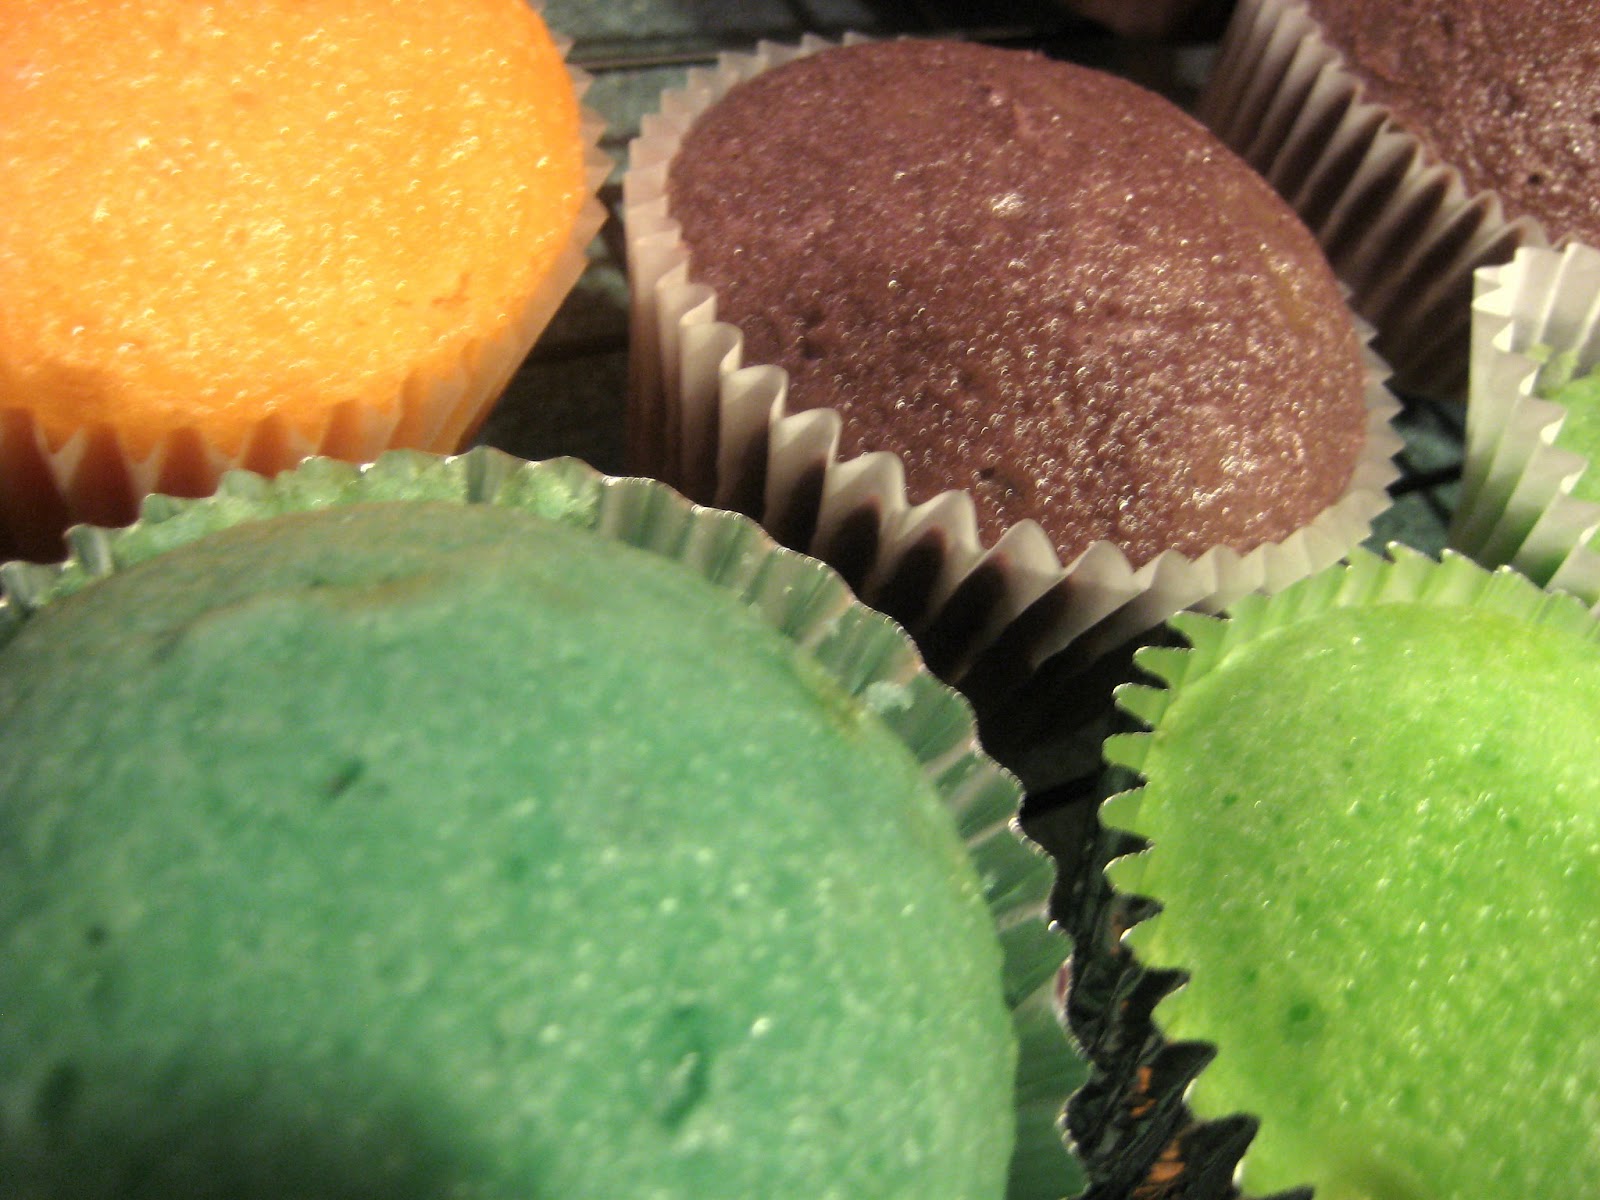
We made cupcakes. If you want to make a mini-cake go for it. The goal is to bake the colors separately so you can keep the colors distinct.

Once they have cooled, crumble the cupcakes by color into separate bowls.  Add the vanilla frosting--it was about 2 middle sized spoons. Our caution is to add a small bit at a time, too much frosting isn't good.


Once crumbled. Take a small section of each color and add together to form one cake ball. Any combo works... be creative.


It's time to freeze the cake balls and wait 15 minutes, or refrigerate for a few hours.


Pick any color for the outside and dip them in the melting chocolate.  We liked the idea of having a perfectly white and somewhat plain cake pop, to then be surprised on the inside.


We had leftover chocolate so we added a couple drops of red food coloring, oil based, to make pink for a swirl on the outside.

When you bite into these cake pops......... Rainbow!

Wednesday, March 7, 2012

Peacock Cake Pops

Peacock Cake Pops!

These were quite the endeavor.  We have done a fair share of cake pops: hippos, babies, turtles, hearts, owls, domos, lions, and minions.  However trying to create a peacock was a challenge in itself.  But we succeeded!


Start with the basic cake pop.  If you've never made one before check out our Cake Pops 101 Guide.  It gives the detailed how to.

We used a baby blue.  You can go with brown, green, or truly whatever color you feel like.  Step 1 is to dip the cake pop in melted chocolate.


Immediately add a little colored chocolate chip. Then let dry.
 Melt green chocolate and put in a ziplock bag, cut a tiny hole in one of the bottom corners.  Lay down a piece of wax paper.  Start with a large dab--you will use this to attach to the cake pop.      Then start making feather-like details.
Go back with a different color (we used blue, but it can be purple or brown).  Fill in the blank areas.  Make sure to fill the entire space or there will gaps in the back.

Once dried, flip over the piece of chocolate.  Add a dollop of melted chocolate.
  Place the cake pop on the chocolate and let sit.  You may need to hold the cake pop so the feathers are straight.


All that's left are the eyes.  We use black frosting.
Peacock Cake Pops!

Monday, March 5, 2012

Cake Pop Greatest Hits

Here's a collection of cake pops we have done over the past year.  Take a look, most are pretty easy to figure out how to do. If you've never made cake pops before be sure to check out Cake Pops 101.

 MINIONS!!! These were out first cake pops. Dip the bottom in blue, then flip an dip the top in yellow chocolate.  The eyes are made out of candy necklaces. Sprinkles for the hair

Lions are next up. These were first found on Bakerella. The home to the first cake pops. She also has a fantastic cake pop book if you want more.  It's found at Target and other stores. 


We also made Domos. These used strawberry belts cut, white frosting for the teeth and black frosting for the eyes.
For the owls you will need a rectangle shaped cake pop, heart sprinkles, flower sprinkles, a candy necklace and chocolate chips.  The chips go on the cake pop before u dip them.


The turtles were pretty easy to make.  However the key for these cake pops are to make sure the ball is not too flat. It needs to be tall enough for the stick to hold.

Lower the body (not on a stick) first. Then put the lollipop stick then. Let it dry, then flip it over and dunk the ball into the chocolate.

Quickly add 1/2 and M&M and 1/2 a Mike-and-ike for the legs.  Go back with an edible pen and put a face on the M&M.


Chicks! These should use yellow melting chocolate. We tried our dyes for the first time--the color isn't as strong.

The arms and nose are little chocolate chips.  They're found next to the sprinkles in stores.  The feet are flower sprinkles and the eyes are black frosting.

This is perfect for spring time.

For a baby shower we made a bunch of little babies.  White chocolate, and immediately add the nose by using a toothpick and spoon.  Also add the candy necklace for the pacifier.

For the bows we used pink chocolate, melted it, put it in a ziplock bag, cut off a tip, and made them on wax paper.  They break easily.  The cheeks were a red edible pen that we rubbed in by hand.  The rest of the face is black frosting.

So these are some of our major hits over the past year.  Good luck trying to make your own.  Be on the look-out for our new tutorials.

Sunday, March 4, 2012

Cake Pops 101

If you are reading this post, you must be interested in becoming a cake pop yoda. If you are already a yoda, then you then are in the company of fellow jedi masters and want to see creative twists on the already delicious classic. But for now... we start with the basics.


What is a cake ball?  It all starts with a box. A box of cake.  It is then transformed from a box, leave the cardboard, and shaped into various forms.  Finally resulting in a ball of cake. How may you ask, can all this be accomplished? Baking. 

Let us start at the very beginning... a very good place to start.  

Although all of the shape transformations that can occur might be complicated, the beginning is very simple.  Bake a cake. Let it cool.  Not only is this simple.  But an average cake box runs about $1.50.  Clearly, we are off to a good start. 


The next step is to let the cake cool and then progress to Aubree's crumbling secrets. 


Cut the cake into four section.  Remove two sections of the cake from the pan and have a large bowl ready.


Rub the sections against one another until the appear like cake crumbles.  The crumbs will be fine and fluffy. Sometimes you might find chunks of egg or cake, just remove them.


The end result should look like the photo. (The book in the corner is by Bakerella.  It's another fantastic resource for cake pops.)

Frosting is next on the list. Take the frosting and add large tablespoons at a time.  Mix in with the crumbs.

Be careful! Don't add too much.  You don't want too much frosting because it will make the later steps too hard.

The finer the crumbs, the less frosting is required.
The moister the cake, the lesser the frosting required.

Usually we use 1/4 - 1/2 of a store bought tub.

Even if you want to make some crazy shape, because believe us you might want to one day, the first step is to roll the dough into balls.

There's two options: freeze for 15 minutes or refrigerate for a few hours.

The goal is to make the ball firm so they can be dipped into melted chocolate and not fall apart.

Freezing for too long is a bad thing as well, so stay near the 15 min. mark.

CHOCOLATE TIME!!!!

We microwave the chocolate, there's always the option to use a double broiler.

Take 1-2 pkg and microwave for 30 second increments.  Take your time with this!

We have overcooked chocolate so many times and it makes your life a living nightmare.  Trust us!

Thin melted chocolate is key for easy dipping.
Here's the trick: Start with 30 seconds. It will look like the chocolate has not melted.... but it has. Stir and wait for a bit. Heck, put the chocolate up against the walls of the bowl if it's warm.

There are a few tells of overheated chocolate. It's warm to the touch (when melted correctly it doesn't give off its own heat). The chocolate will appear shiny. If it starts to get ripples then its overheated.  Another indicator is that the chocolate is thick.  Continuing to heat the chocolate will not make it better.

Prevent overheating at all costs!!!!!!

If you do overheat it, let just say it happened... then you do have some options.  

1. Start all over. Just kidding
2. Add small amounts of oil and stir. (It helps make it thinner.)
3. Buy a mix specifically for overheated chocolate
4. Have a timeturner.  


So the chocolate is ready, the cake balls are firm, it's time to dip.

For cake balls, just dump the ball into the chocolate and have fun.

For cake pops, place 1/2 inch of the stick into the chocolate and then straight into the pop.

Then place the entire cake ball into the chocolate.

Some of the chocolate will drip off... use Ashley's move: slowly tap the stick on the side of the bowl and twist the stick around.


At this point your done! Yey!  You survived.

Storage info:  Let the cake pops dry at room temperature.  If you want to be a trickster then add candies, frosting and sprinkles in order to get the desired look.

Cake pops should be stored in the refrigerator or in a air-tight container.

Total amount 1 box makes: approx. 36

Total cost: under $8

Be on the look-out for our tutorials on the cake pops featured in this post.