Monday, April 9, 2012

Homemade Vanilla Ice Cream


We have been making homemade ice cream for years.  Our grandfather was raised on a farm and he almost made a science out of making ice cream from home.  In fact he had to use a hand crank ice cream making.  Thank goodness we have a motorized one, because otherwise making the ice cream was almost more trouble than its worth... just kidding.

Considering the cost to buy ice cream is almost $5 for 1 quart, homemade ice cream is cheap in comparison at around $4 for 2 quarts.

After thoroughly researching ice cream according to Ben and Jerry we have decided that making homemade ice cream is extremely easy.

We doubled the batch because we like ice cream and our ice cream maker is pretty large.  However it's really easy to divide in case you want less. (also this is the regular recipe)

Start by whisking 2 large eggs for 1 to 2 minutes until the eggs are  light and fluffy.

Slowly add in 3/4 cup of sugar while continuing to whisk.

Then whisk the mixture for another minute.

Pour in 2 cups heavy whipping cream, 1 cup milk and 2 teaspoons of vanilla extract.  Continue to whisk until all the ingredients are combined.

Pour this mix into the ice cream maker container and let the ice cream be created.

Here's the secret ingredient that's in all ice cream. Ready? Well, it's air. Yup while the ice cream mix is turning in the ice and rock salt mix the ice cream liquid is being frozen while air is being added.  This is what makes it light and fluffy.


High quality ice cream is approx. 2/3 ice cream and 1/2 air, while low quality ice cream is almost 50/50. So... if you want thick/dense ice cream add more to your container, so less air is added.  We did ours a little more than half though.


While the ice cream is being made make sure to keep the ice up to the top of the container, and the rock salt included.  Rock salt is key because it makes the ice colder which freezes the ice cream.

Also during this process its the perfect time to enjoy a game of croquet. (we did!)

Aubree won one game, Ashley won the other.  Our brothers lost both!


Check the container after 30 minutes.  If your hand cranking.... keeping working on it.

Once the ice cream looks like this it's time to freeze the ice cream further.

All ice cream is soft when made, so by freezing it for 30-45 minutes it makes the ice cream appear more like store bought.  It also won't melt in two seconds anymore.

Scoop it up. Add bits of candy, or hot fudge or whatever you want.  Of course vanilla by itself when handmade is always delicious as well!


Recipe

2 large eggs
3/4 cup sugar
2 cups heavy whipping cream
1 cup milk
2 teaspoons vanilla extract

Whisk the eggs in a medium bowl for 1 to 2 minutes or until light and fluffy.
Slowly add in sugar and then whisk for another minute.
Pour in cream, milk and vanilla.
Pour ice cream mix into ice cream maker.

Makes 1 quart

Saturday, April 7, 2012

Peanut Butter Brownie


So Aubree was craving peanut butter and chocolate.  As a strong advocate of that combination on a daily basis, Ashley went right along with helping Aubree find a fix. lol. But truly we wanted peanut butter and chocolate and we had a brownie mix on us, so one thing led to another.  This recipe is rich. And by rich I mean you need a glass of milk/can't eat two in a row unless you like super rich things.  It's really easy to make in general, but in case you don't want something super rich then just leave off the frosting.


The cost you might ask? $5


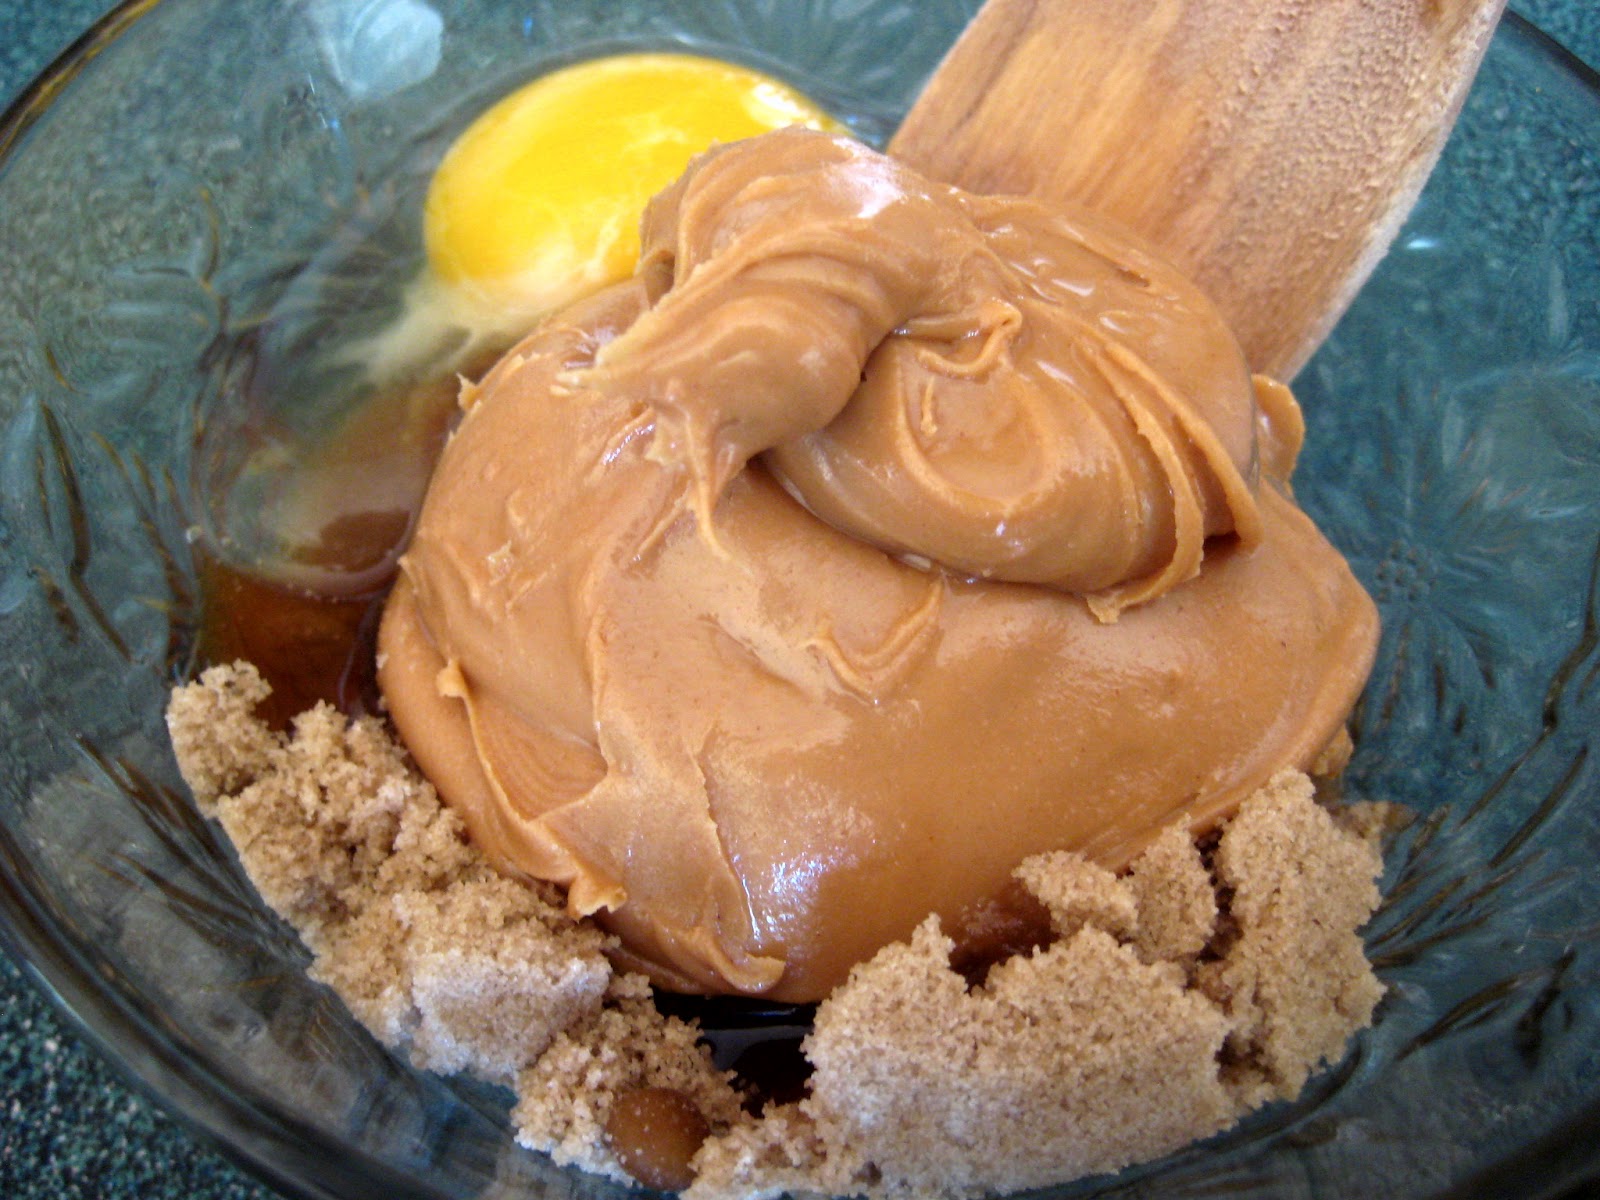
Start by making the peanut butter mix that will be added to the brownies.  In a small bowl add 1/3 packed brown sugar, 1/3 crunchy peanut butter, and 1 egg.  About the actual peanut butter--we only had smooth peanut butter (remember people in the house don't like nuts), so use what you have.  In hindsight the nuts might help cut down on the richness but it's your call.


Make the brownie mix according to the box.

Preheat the oven depending on what pan you bake this in.

Here comes the fun part.  Put 3/4 of the brownie batter into your pan.
  
About a tablespoon at a time (give or take a bit) drop the peanut butter mixture into brownie mixture.  Spread it out so that you have peanut butter throughout the pan.

Then cover the peanut butter with the remaining brownie mixture left over.


Take a knife and gently sweep it back and forth mixing the peanut butter and brownie batters.  It's not an exact science you just want to mix the two.

Bake according to the box.

While the brownies are baking it's time to make the frosting.  Take a container of vanilla frosting and scoop 3/4 into a bowl.  Then add 1/4 peanut butter (you probably want smooth but it's up to you) and then 2 teaspoons milk.

Combine the ingredients together and there's the frosting.  Now just wait for the the brownies to cool and then add on the frosting.


Here's a secret: it's sometimes really hard to cut brownies or bars.  So you can use a knife or a plastic knife and gently saw. Or you can use a pizza cutter. Yup a pizza cutter.  If you get any brownie on the blade just wipe it off, but it leaves pretty clean lines.  So easy now. Do you have a good way to cut brownies?


Recipe (adapted from Betty Crocker)

Brownies:
1 box brownie mix
1/3 cup packed brown sugar
1/3 cup crunchy peanut butter
1 egg

Frosting:
2/3 cup vanilla frosting (from 16 0z container)
1/4 peanut butter
2 teaspoon milk

Combine brown sugar, peanut butter and egg in small bowl.  
In separate bowl make brownie mix according to package.
Put 2/3 of brownie mix into 13 x 9 pan.
Scoop tablespoons of peanut butter mixture into brownie mix
Cover peanut butter with remaining brownie batter
Bake per box
Make frosting by combining vanilla frosting, peanut butter and milk in bowl.
Allow brownies to cool on a wire rack.
Frost brownies and have milk ready to drink!

Monday, April 2, 2012

Aebleskivers


Aebleskivers (pronounced: able-skeevers) ... have you ever heard of them before? They're small Danish pancake donut holes.  Its a fried and puffy like a pancake, but can be eaten in 1 bite like a donut.  They are delicious, addicting, and it takes less than two seconds to eat one of them.  The key to making these is the pan... shockingly it's cast iron.  We bought ours years ago in Solvang, CA.  However if your not planning on making the trip to the Danish town, then you can find them online here.  The best part is that 1 batch of aebleskiver batter makes approx. 42 at a total cost of $4.00.

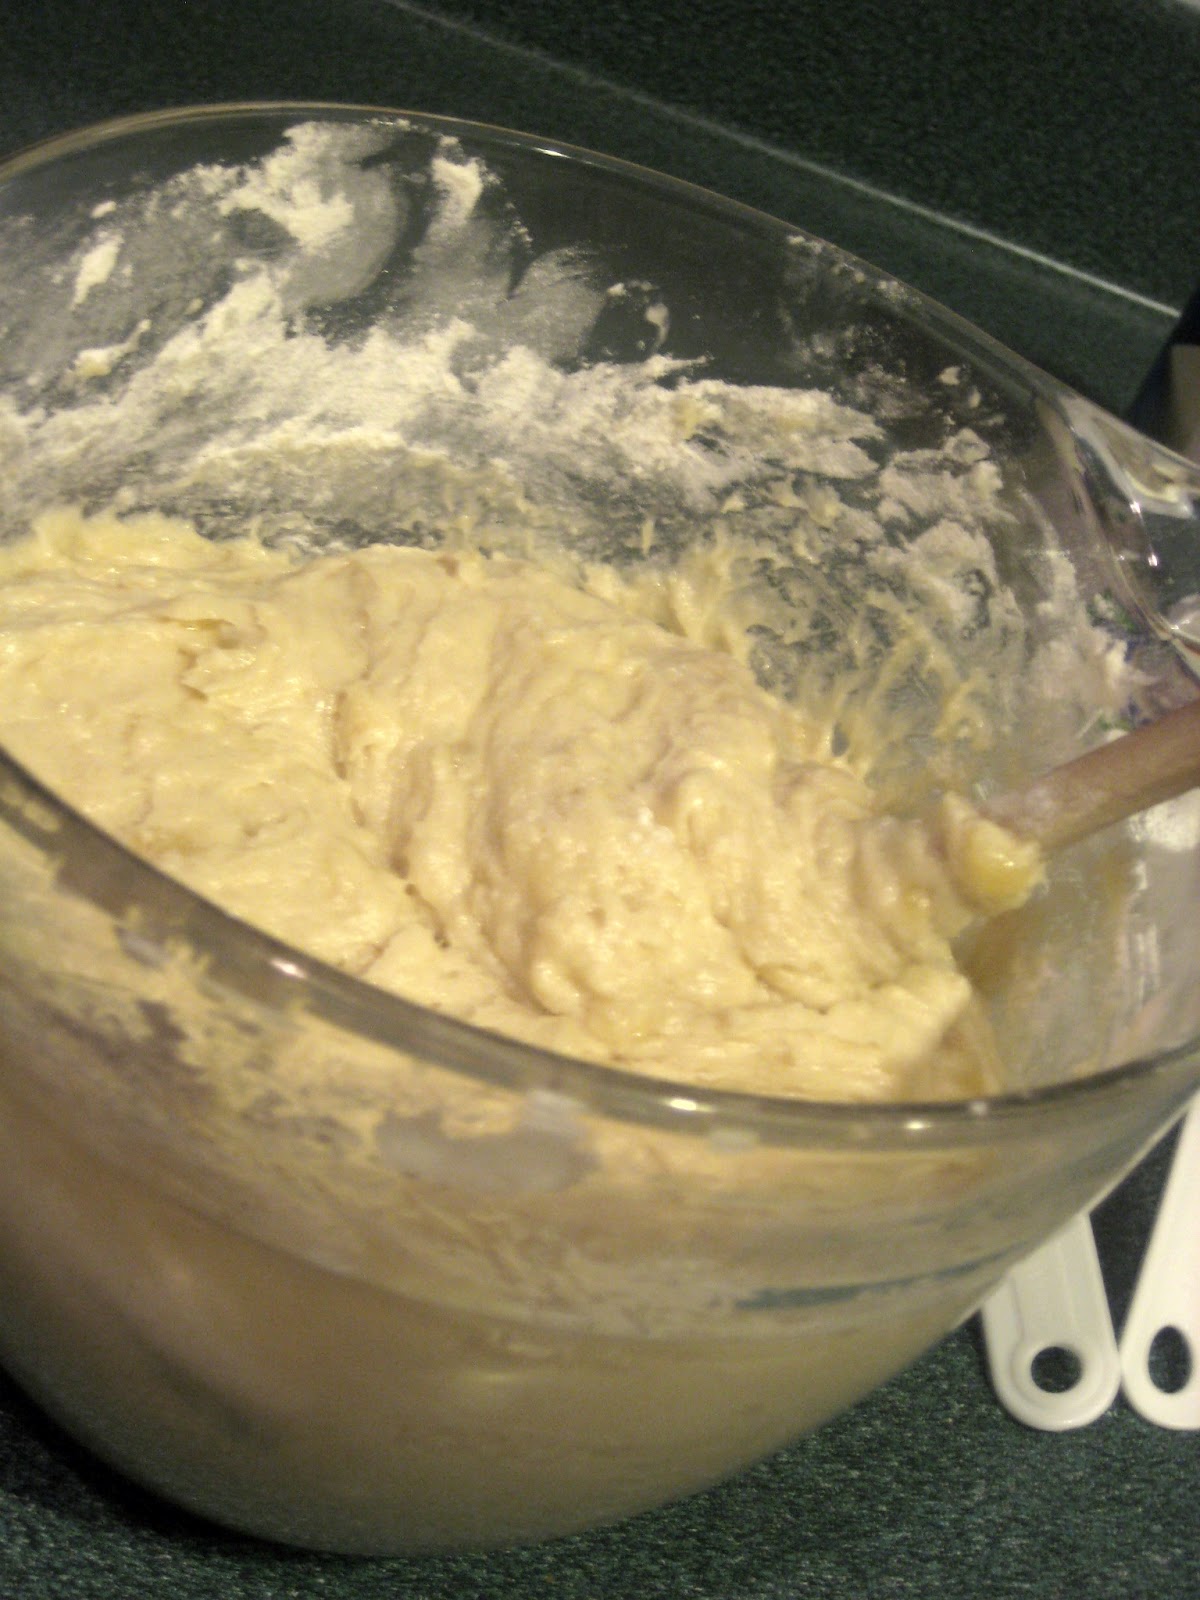
To make the batter start with 2 1/4 cups flour in a bowl and add 1/2 teaspoon salt, 1 1/4 cup baking soda, 3/4 teaspoon baking powder and mix together.

Separate 2 egg yolks from the whites.


Beat the egg yolks in a separate container and add 2 cups buttermilk.


Combine with the dry ingredients.


 Add 3 tablespoons melted butter.

Beat the remaining egg whites and fold into batter (fold the dough to add air in to make the aebleskivers fluffy).


Put the aeblskiver pan on a burner and turn to medium heat.  The pan will get hot fast and remain hot, so if they burn you can turn it down quickly.

Also watch out for the handle... (I, Ashley, accidentally burnt myself while having a blonde moment).
Spray the pan with non-stick pan and we use two small dessert size spoons to add batter into the individual places.  Don't fill the whole all the way--it will expand.

Once the dough separates itself from the pan it's time to flip the aebleskivers.  This is probably the hardest part of the entire recipe.

Take a fork and gently stick in under the aebleskiver.  Move the fork in a clockwise and upward motion to lift it up.

Quickly remove the fork as the uncooked batter hits the pan and starts to cook.

Move through all the aebleskivers until they are all flipped.  The second side will cook much quicker than the first side.  Let sit for a couple of minutes until fully cooked.

To remove use the same fork to slide the aebleskivers out of the pan.

Coat with powdered sugar and top with jam or syrup for a classic danish treat.


Recipe

2 1/2 cups flour
1/2 teaspoon salt
1 1/4 teaspoon baking soda
3/4 teaspoon baking powder
2 cups buttermilk
2 eggs, separated
3 tablespoons melted butter

Combine flour, salt, baking soda, and baking powder in a large bowl
Beat egg yolks and add to milk
Combine with dry ingredients mixture
Add melted butter
Fold in beaten egg whites
Fry in pan.


Wednesday, March 28, 2012

Jeanie's Banana Bread


P O T A T O! No, our banana bread does not contain potatoes. However, like this adorable minion trailer, our bread punches you in the face with flavor.  And hopefully, you will have as much fun making it as we do watching this trailer on repeat. Over and over and over again.  Let the minion's banana obsession spread once you've tried this classic recipe.  And like the minions, we may or may not have stolen it... from our grandma. :)

Start with 2/3 cup softened butter and mix with 1.5 cups sugar in a large bowl.

Up next are the eggs--you'll need two.  Mix in one egg at a time.

The bananas... the more ripe the better.   Take a fork and mash two bananas or one cup worth.

Add 4 teaspoons sour cream or milk. We use sour cream due to making the dough thicker.

Preheat oven to 375F.
Combine the banana and sour cream mixture with the butter mixture.  Stir well.

Add 2.5 cups flour, 1 tsp baking soda, a dash of salt and fold into the batter.  If you like nuts then add 1/2 cups of chopped walnuts in at this point (it's good either way, maybe throw in some chocolate chips).


The bread can be baked in either a 13 x 9" pan or as individual loaves.

For the pan(s) gently add butter to the pan.
Put a 1/4 cup of flour into the pan and move the pan around so that every space is covered in flour.  This serves as a way to keep the bread from sticking to the pan.
We made small individual loaves, so we divided the batter in half.

Bake at 375F for 45 to 50 minutes.  This might vary based on oven, our baked for near 40 minutes. The top will be brown, check by sticking a toothpick about an inch from the edge of the pan.
Once you're bread is fresh from the oven, let it cool and take a bite.  Then watch the trailer again.

P.S. Are you as obsessed with this trailer as we are?


Recipe

2/3 cup softened unsalted butter
1.5 cup sugar
2 eggs
1 cup mashed bananas (very ripe)
4 teaspoon sour cream or milk
2.5 cups flour
1 teaspoon baking soda
1 dash salt
1.2 cup chopped walnuts

Cream butter, add sugar and cream again.
Add eggs one at a time and mix completely.
Add mashed bananas with sour cream.
Fold in flour, baking soda and salt.
Add in chopped walnuts
Bake at 375F for 45 - 50 minutes.


Sunday, March 25, 2012

Dark Chocolate Banana French Toast


Breakfast foods--sometimes they're absolutely the most amazing thing. Butter, cinnamon, vanilla, chocolate, bananas, syrup and most importantly bread. French toast is the combo of everything that's delicious.  Plus it's super easy to make and super cheap. 1 serving makes about 6 slices of bread which leads to a cost per serving of under $2.

Start by beating 2 eggs and 1/2 cup milk in a bowl. Add 1/2 teaspoon vanilla and a pinch or two of cinnamon for taste.

Heat a saucepan with 1/4 tablespoon of butter.

Next is the bread: you can use a french bread loaf, a regular loaf or whatever type of bread you have.  We used sandwich bread because we didn't feel like going to the store.... instant gratification is what we're all about.

Dip the bread into the batter and then straight onto the saucepan.  Cook until each side is brown.  Think of it like a grilled cheese sandwich-but it's just one slice of bread.

Take off the heat, coat with banana slices, chocolate chips, powered sugar and sryup or whatever combo of that sounds good. It's delicious, and takes less than 5 minutes.


Recipe

2 eggs
1/2 cup milk
1/2 teaspoon vanilla extract
1/4 teaspoon cinnamon

Beat eggs and milk in bowl.  Add vanilla and cinnamon.
Heat butter in saucepan.
Dip bread into batter and cook until sides are golden brown.
Top with syrup, powered sugar, a couple of dark chocolate chips and some bananas.

Thursday, March 22, 2012

Hippo Cake Pops on the Prowl


The Hippopotamus.  You'll either know them from cute stuffed Beanie Babies or playing Hungry Hungry Hippo!  (If you just sang that game's name, then we approve.)  Around here though, they serve another purpose: a nickname.  Aubree's friend Nina drives a gray Volkswagon, and the name "The Hippo" fits strangely well.  Therefore when Nina turned 18 a couple weeks ago, we had to attempt to recreate this creature in cake pop form.

If you have never made a cake pop before, head over to our Cake Pops 101 Guide and check out the step by step tutorial in order to make a basic cake pop.


By Nina's request, we started with carrot cake and cream cheese frosting which turned into a delicious cake pop.

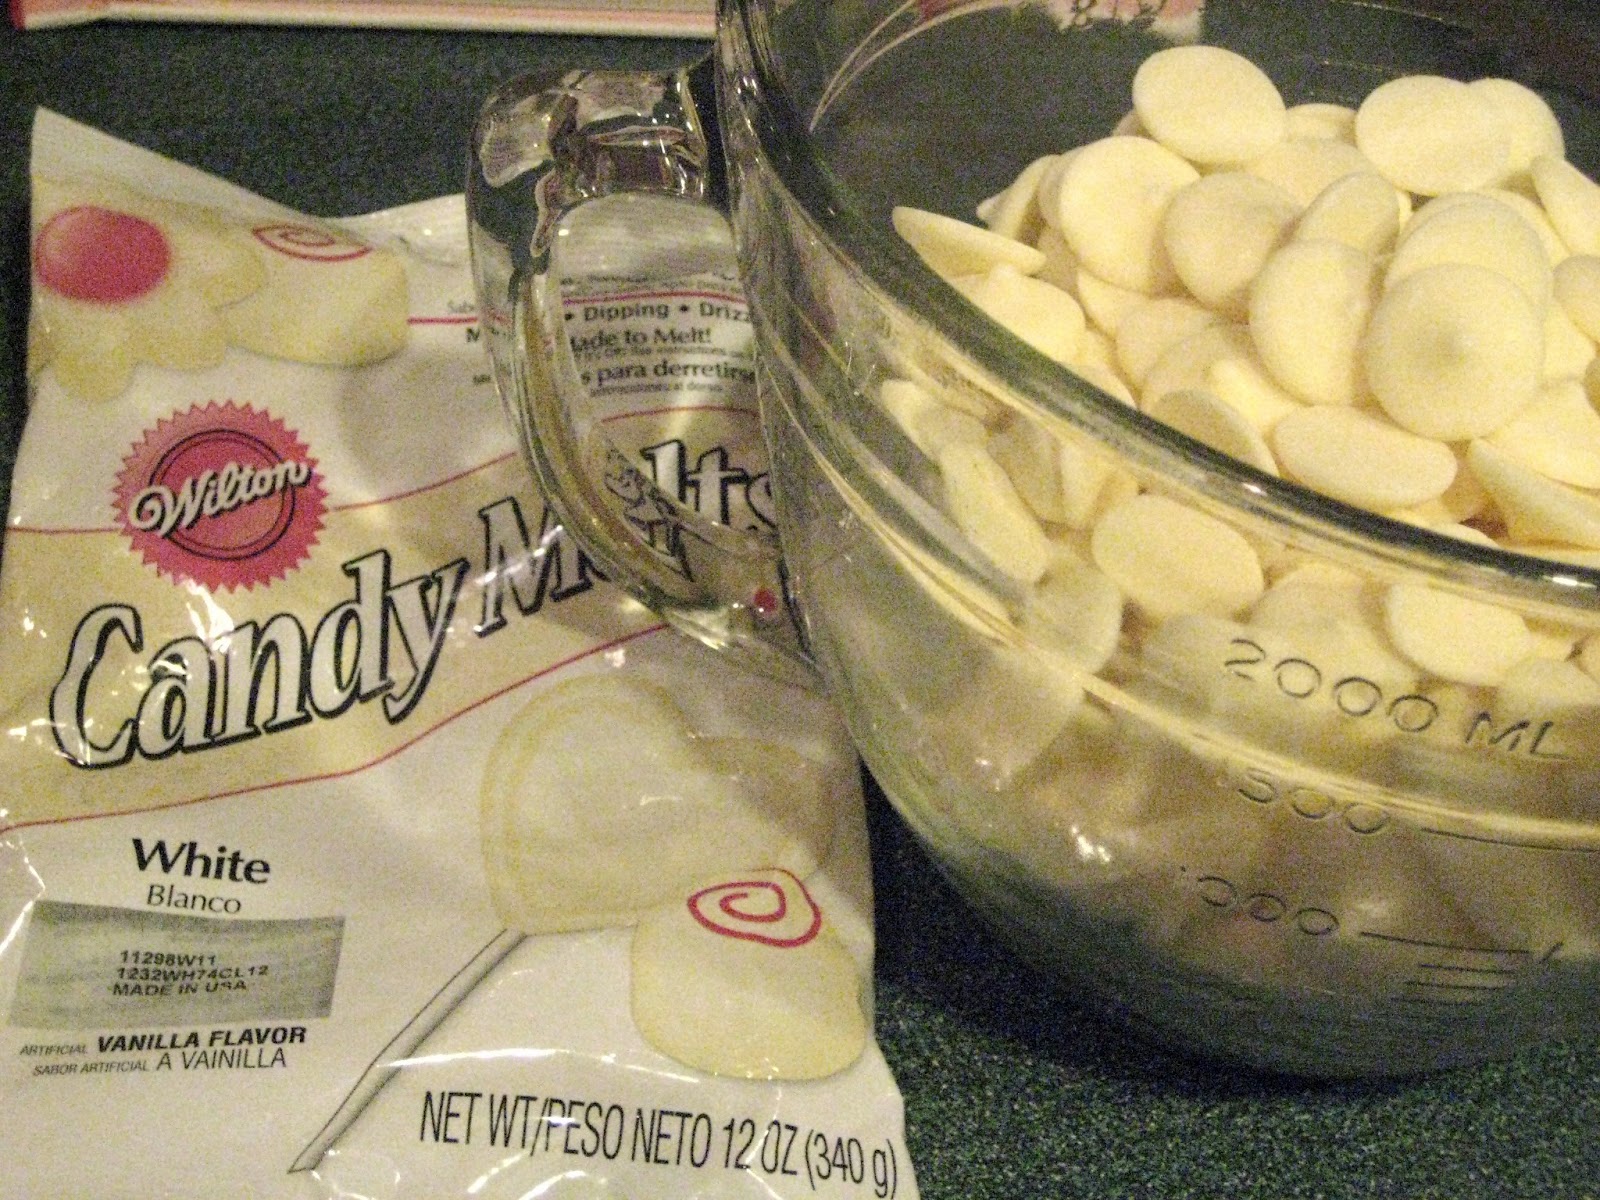
From there we tinted white melting chocolate using Wilton candy coloring.  A few drops a time works--we used a combination of blue, orange, red and yellow. Good luck and be patient! Gray takes a while to make it good.


After the cake balls froze for 5 minutes we pulled them out and shaped them into the head size.  We did not shape the ears, just the basic outline for the head. Make sure to keep the main weight in the middle of the head--being off balanced leads to cake pops falling off the sticks!


Once shaped, we placed them back into the freezer for another 10-15 minutes.

Then take them out and dip carefully.  Its kind of a weird shape but the extra cake in the back should help keep it on the stick.

After we added black eyes with frosting and a little dot of extra chocolate for the noses and ears.

And Viola! Hippos on the Prowl!!