Tuesday, May 29, 2012

Peanut Butter Cookie Ice Cream Sandwich


 While we're pretty sure it's much easier to just go to the store and buy ice cream sandwiches, there is something great about being able to decide exactly what type of cookie ice cream sandwich you want.  As our first attempt to this slightly messy recipe, we decided to keep it simple with our homemade peanut butter cookies.  Then, to keep it easy, we bought neapolitan ice cream from the store.   (If you want to be ambitious, try our Homemade Vanilla Ice Cream instead of the store bought) Peanut butter and chocolate, vanilla or strawberry are all fantastic options.  Be creative and don't let the ice cream melt!

Start by making the cookies.  For the peanut butter cookies we needed butter, peanut butter, egg, sugar, brown sugar, baking soda, baking powder, vanilla, and flour.

The 1/2 cup peanut butter and 1/2 butter should be mixed together, then add in 1/2 teaspoon baking soda, 1/2 teaspoon baking powder, 1 egg, sugars (1/2 cup packed brown and 1/2 cup sugar), 1/2 teaspoon vanilla and 1/2 cup flour.

After mixing in the remaining flour (3/4 cup) roll the desired amount into a ball and roll in sugar. Make sure to use a fork to make the criss-cross shape.


Bake at 375 for 7-9 minutes.

When they come out of the oven let them cool on a wire rack.  The recipe makes around 36 cookies so if you can resist the urge to eat one you'll have around 18 sandwiches.

Next is the ice cream part.  Take a cookie sheet and line it with parchment or wax paper.
Meanwhile let the ice cream soften so that you can reshape it. 


Once the ice cream is softened flatten it out on the cookie sheet using a spoon.  Then place it back in the freezer to harden.

Once the ice cream is ready it's time to put it in between two cookies.  We used a pizza cutter to cut through the ice cream.


Wrap the ice cream sandwich in saran wrap and the freeze for another hour or so.  This ensures that the ice cream sandwich will keep its shape.

If the ice cream softens too much while making the sandwiches, put the ice cream back in the freezer.


Whether strawberry or chocolate is your favorite, this recipe can please the whole family.  With neopolitan ice cream, everyone can get their perfect flavor.  Plus, you really can't go wrong with this peanut buttery greatness!


Recipe

Peanut Butter Cookies

1/2 cup butter
1/2 cup peanut butter
1/14 cup flour
1/2 cup sugar
1/2 cup brown sugar
1 egg
1/2 teaspoon baking soda
1/2 teaspoon baking powder
1/2 teaspoon vanilla

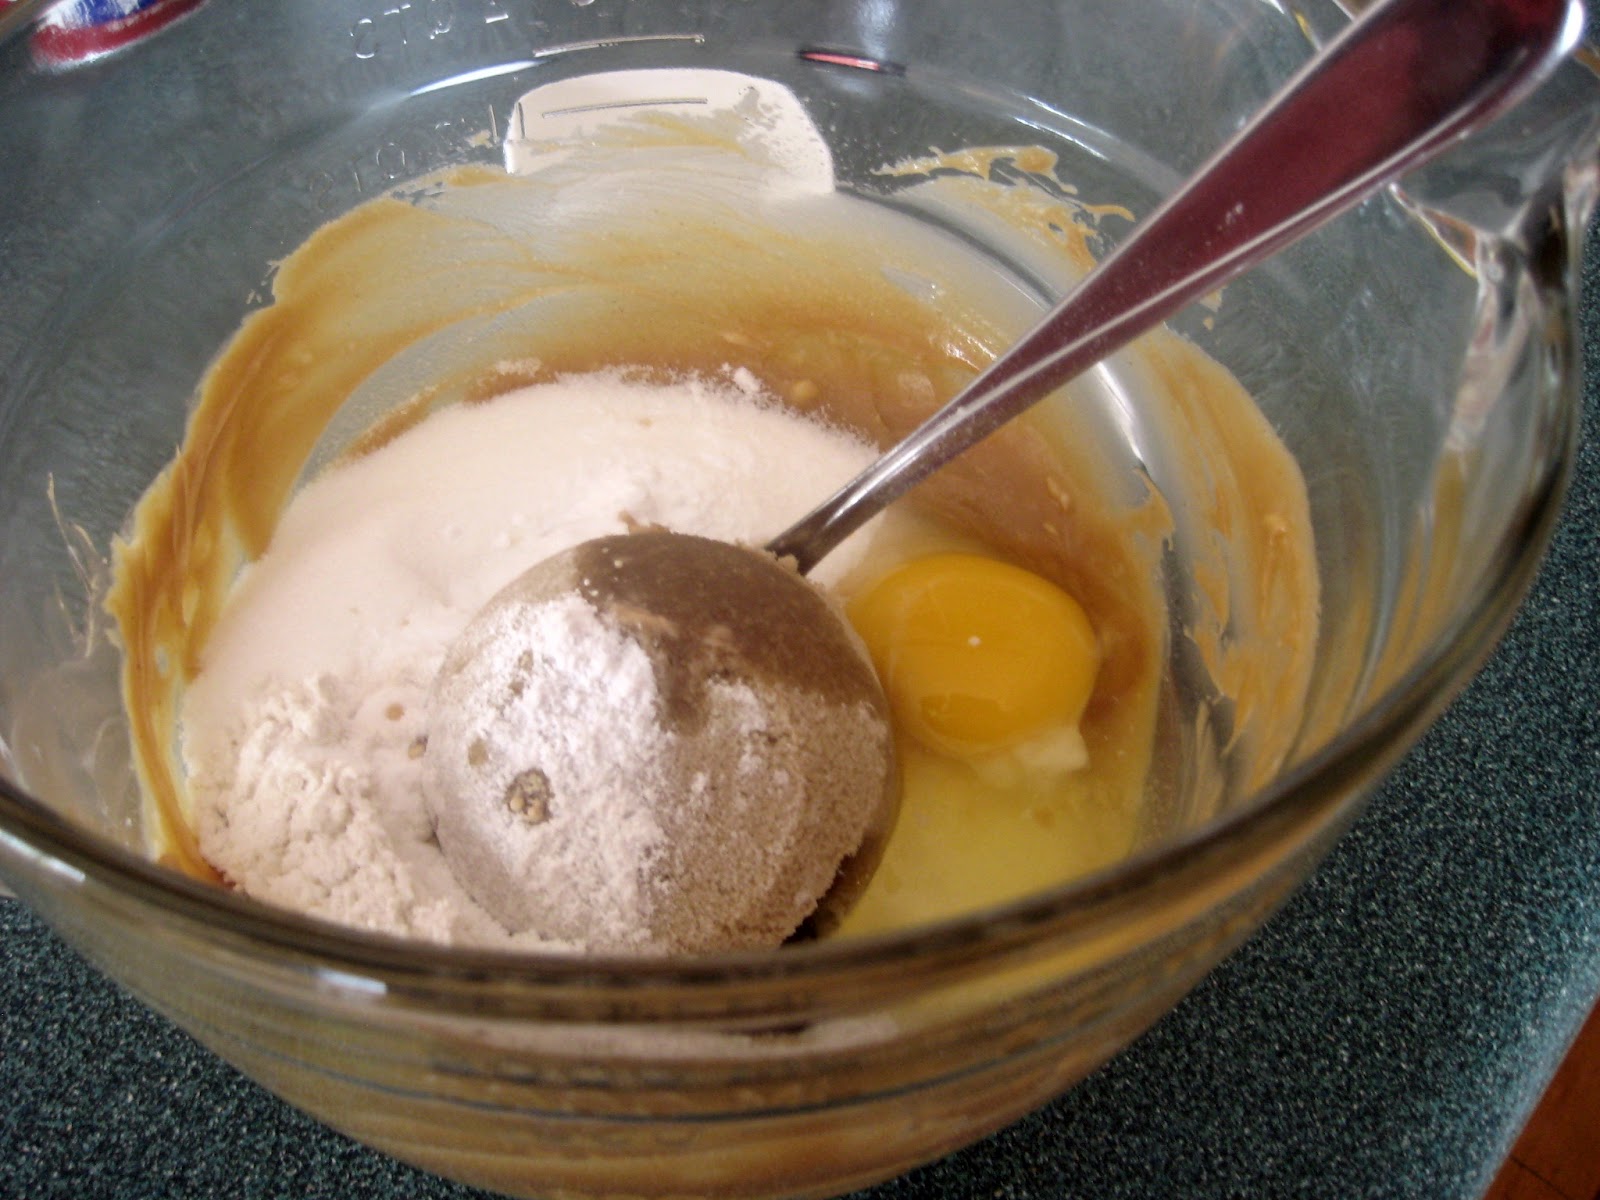
Mix peanut butter and butter in mixing bowl
Add 1/2 cup flour, the sugars, egg, baking powder, baking soda and vanilla. Combine thoroughly
Beat in remaining flour.
Shape dough into 1 in balls.  Roll in sugar. Flatten by crisscross method.
Bake at 375 for 7 to 9 minutes.

Ice Cream Sandwiches

On parchment covered cookie sheet flatten softened ice cream.  Freeze for 1 hour.
Place ice cream on cookies.  Wrap in plastic wrap.  If the ice cream becomes too soft place back in freezer.  Once completed freeze for an additional hour.
Eat quickly once ready!

Tuesday, May 22, 2012

Tri-Color Pasta Salad


The Tri-Color Pasta Salad is possibly one of our favorite side dishes.  The assembly is easy and quick, and the finished product is addicting.  Its ridiculously easy to eat way too much of this.  Plus, its light and colorful so it's perfect for the classic summer picnic aka Memorial Day.  The other part about this dish is that we have been known to eat it straight out of the serving dish... waiting to put it on a plate or bowl to eat just takes way too long. So yeah, we grab a spoon and go for it. Luckily for us this salad is healthy and that means we can have our fill without worrying about the calories!

This salad uses tri-color pasta, carrots, cheese, broccoli, black beans, and Italian salad dressing.

This recipe is pretty big so feel free to chop this in half, quarters, or whatever you need.  Don't worry about the exact measurements.
Start by cooking two 12 oz packages of tri-color pasta according to the package.

Drain and place pasta into large bow.  Cool the pasta in the refrigerator until cold.

While the pasta is cooling, cut 1 1/2 cups of carrots into small pieces.

Then add the carrots into the pasta mix.

Up next is cheddar cheese. Cut the cheese into small cubes.  You'll need approx. 1 1/2 cups of cheese.

Then add the cheese to the pasta mix and stir.

After is the broccoli, cut approx. 1 1/2 cups of this as well.
The last add in is the black beans.  We just drained one can and threw it in.

The last step is to add the Italian salad dressing.  For this large of a batch we use almost 3/4 of a bottle.

This might seem like a lot, believe us we always try to add less, but as our mother likes to say when we make this, "it soaks it up."  So don't be afraid to douse this thing.  In fact add some, wait a bit before you serve by storing it in the refrigerator and then add some more dressing.

And that's it.  Cook pasta, add in extra stuff, throw in salad dressing and it's done.  It takes next to no time, is delicious, healthy, and wait for it.... cheap.  Coming in at around $9 makes this 20 healthy servings dish equal chump change.

Recipe

2 12oz packages tri-color pasta
1 1/2 cups carrots sliced
1 1/2 cups cheddar cheese cubed
1 1/2 cups broccoli
1 can drained black beans
Italian Dressing to taste

Cook the tri-color pasta according to packages. drain and let cool in refrigerator.
Add carrots, cheese, broccoli, and black beans to the pasta. Mix well.
Add in Italian dressing until it is thoroughly coated.  Eat as fast as humanly possible.
Serves a small nation.

Friday, May 18, 2012

One Eyed Monster Cake Pops


It has been said: when life gives you lemons, make lemonade.  Well, we say when you overheat your modeling chocolate, make One Eyed Monsters. Baking often involves adapting and coming up with new and creative ways to salvage your food even if you make a mistake.  Luckily for us this time, we had some store bought eye balls and some helpers who weren't afraid to get their hands dirty.

If you haven't made cake pops before check out Cake Pops 101 to get the step by step.

To make the wild and nonuniform chocolate covering,  just dip the cake pops and mess up the surface with a spoon or your fingers.

Then we stuck on the eyes which we purchased from Target. I'm sure you could make your own eyes but we thought these were pretty good looking plus for 75+ eyes we paid $3.


There's really no rhyme or reason to the way we made these.  Just stick on a couple eyes and it should do the trick.

 Desperate times call for desperate measures, and over heated modeling chocolate is a pretty rough place.  However when in doubt, don't be afraid to take a breathe, let your chocolate cool, and find another creative solution to your cake pop struggles.


Wednesday, May 16, 2012

Brownie S'mores


Full disclaimer: This is messy. And sticky. And our own quirky version of a campfire classic.  Keep the graham crackers and melted marshmallows, but add some rich chocolaty brownies instead of plain old Hershey's chocolate. With only 3 ingredients as usual, here's a cheap and easy way to fulfill your S'more fix without the open flame.

Start with a box of graham crackers, a box of brownies and a package of marshmallows. ($5)

Spray the bottom of the pan with a non-stick spray.  Use the graham crackers as the crust or base of the s'more. (Have fun fitting in the graham crackers, but it all depends on the size of your pan).

Make the brownie recipe and pour it over the graham crackers.

Bake the brownies for approx. 20 minutes at 350F.

Once the brownie is almost baked all the way place marshmallows on top.

Then place the the s'more back into the oven to bake for 4-5 more minutes or until the marshmallows are melted.


Here comes the fun part. Take a spatula and spread out the marshmallows until it makes an even layer.

Last bit is to crumble some graham crackers and sprinkle it over the top.


 Recipe

2 pkg graham crackers
1 pkg marshmallows
1 box brownies

Place graham crackers in 13 X 9 pan.
Mix brownies and dump over graham crackers
Bake for 20 minutes at 350F (adjust for different types of pans)
Place marshmallows on top and bake for an additional 4-5 minutes
Spread out the marshmallows and top with graham crackers.


Saturday, May 12, 2012

Strawberry Banana Angel Food Cake Kabobs


Strawberry Shortcake is simply a classic.  It's light, sweet and healthy all at the same time.  It's also perfect for Mother's Day.  This time we took the traditional recipe and added some chocolate, bananas and threw it on a stick.  These Strawberry Banana Angel Food Cake Kabobs add a little more guilt to this tasty pleasure.   Did we mention it's only $8 for over 20 kabobs. Plus it easily feeds 10 people no problem.

Start with strawberries, an angel food cake (we bought ours but you can easily make one), 2 baskets of strawberries, some chocolate and a banana or two.

We prepped the strawberries first. Cut off the green stems, and dice in half.

Once the 2 baskets are finished add a tablespoon of sugar (or not depending on how sweet you want this). Then refrigerate if you like your strawberries cold.

 Next up the angel food cake.  After cutting many pieces we decided they need to be a bit smaller than the picture. Aim for a square shape.

Then the bananas. We cut one and then added a drop of lemon juice to each side to prevent browning.  Do you have any other secrets to preventing browning? We'd love to learn a new trick.

Up next is assembly. Any combination of strawberries, angel food cake and bananas is good. Or add a different fruit like pineapples or a berry if your heart so desires.

Last for the fun part.  Melt some dark chocolate and drizzle it over the kabobs.

We put some cool whip in a container and the dessert is done.

Hope you enjoy and Happy Mother's Day!!


Recipe

2 Baskets Strawberries
1 Angel Food Cake
1-2 Bananas
1 pkg Dark Chocolate Chips
1 Tablespoon Sugar
Lemon Juice
Kabobs
Cool Whip

Cut stems off strawberries and then in halves.  Add sugar.
Dice Angel Food Cake
Slice bananas and add lemon juice to prevent browning
Assemble strawberries, bananas and cake onto kabobs
Melt chocolate and drizzle over kabobs
Dip in Cool Whip and enjoy!

Monday, May 7, 2012

Not Quite 7 Layers Dip


Our Not Quite 7 Layers Dip is truly one of the cheap and easy-to-make creations that has been in our house for years.  We have seen a loud and rowdy group of girls become silenced by the need to consume this dip.  On multiple occasions it has been demolished in under five minutes.  Now you might be thinking "where's the guacamole?" Sadly ours does not contain guacamole (multiple people in our house are allergic to avocados) but if you want some just add it in as another layer.

You must be wondering how much does this bad boy cost?  Well by the time you add in the cost of the chips it's near $8.  We call that a deal.    

Start this masterpiece with some refried beans, sour cream, cheese, tomato, and olives.

Find a 9 X 13 or roughly near that size pan to put the dip in.  Start with a layer of beans.  We love this and so we buy the large container of beans (as seen in the picture above).

Next take a 13 oz. container of sour cream and dump the entire container on the beans.  Even out with a spatula.

Notice it doesn't have to be perfect, it's going to be eaten way to fast.

Grate approximately 1 cup of cheddar cheese and place on the sour cream layer.

Dice 1-2 tomatoes and open/drain 1 small can of olives.

In case you don't like olives hold them, half of our dip only has tomatoes (yes we have picky eaters in the family).

Sprinkle on the tomatoes and olives.

Cinco de Mayo may be over now, but the fiesta can live on via this dip! Olé!


Recipe

1 lrg can refried beans
1 13oz sour cream
1 cup grated cheddar cheese
1-2 tomatoes
1 small can olives

In a 9 X 13 pan empty refried beans and level out.
Add contents of sour cream container on top of beans and level again.
Place grated cheese onto sour cream
Dice tomatoes and place on cheese.
Drain olives and sprinkle onto tomatoes.
Take chips and start dipping!